Sitka Training Video - Capturing Holds (2:29)
Items are captured for holds at check in either opportunistically when an item is returned by a patron or deliberately when items on the Pull List for Hold Requests are pulled and checked in.
Multi-branch libraries and libraries participating in reciprocal borrowing will see both holds and hold transits captured at check in.
Note
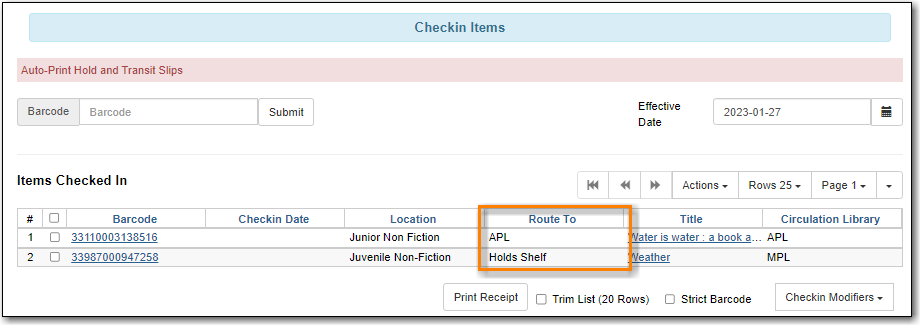
When the Checkin Modifer Auto-Print Hold and Transit Slips is enabled hold and hold transit slips will print automatically without displaying a slip pop up within Evergreen.
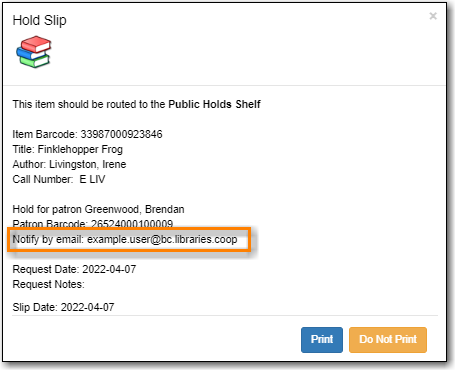
- When a hold is captured at check in a hold slip pop-up will appear, unless auto-printing is enabled.
- Staff can click Print or Do Not Print depending on their needs.
- The item is checked in and the item status is updated to On Holds Shelf.
The patron will be notified automatically by Evergreen or by library staff depending on the method chosen for notification when the hold was placed. The chosen method will display on the hold slip and is included on the printed slip by default.
Caution
Do NOT check out the item to the patron until after the notification processing delay has passed or Evergreen will NOT send the automatic notification. For information on hold notification processing delays see the section called “Hold Ready For Pickup”.
- The item is placed on the library’s hold shelf.
Note
Libraries with self pickup hold shelfs can customize the hold slip to limit the amount of patron personal information that is printed.
A patron’s contact information on the hold slip may differ from what is in their patron account. Patrons have the option to enter different notification information when placing a hold. Evergreen will use the information saved in the hold record when notifying patrons.
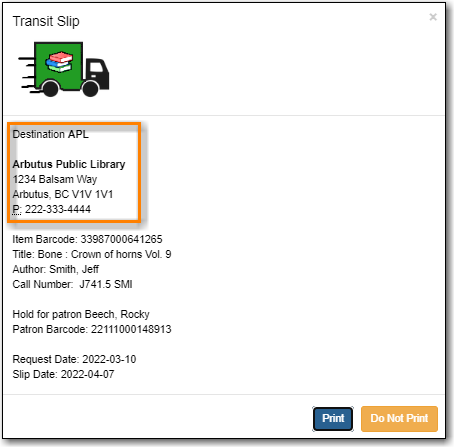
- When a hold transit is captured at check in a hold transit slip pop-up will appear, unless auto-printing is enabled.
The pop up will indicate what location the item needs to be sent to. This information is also available on the printed slip by default.
The Route To column on the Check In screen will also show the library code of the library the item is to be sent to.
- The item is shipped it to the destination library.
- When the destination library checks the item they will capture the hold.
