Sitka Snippet Video - Hold Groups (2:45)
Hold groups allow library staff to create lists of patrons that can then be used to place multiple title level holds on the same bibliographic record. This is useful for book clubs, new or on-order items, and/or high demand items.
Tip
Libraries may wish to set up a mechanism by which patrons can subscribe to be added to a hold group. For example, a library may set up a form on their website with a list of authors to select from that is sent to library staff so they can add the patron to the selected author hold groups.
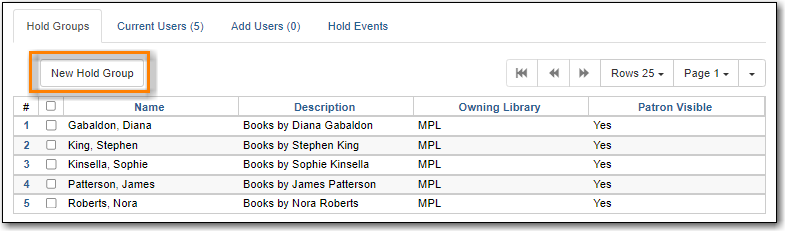
- Go to Circulation → Hold Groups.
On the Hold Group tab, click New Hold Group.
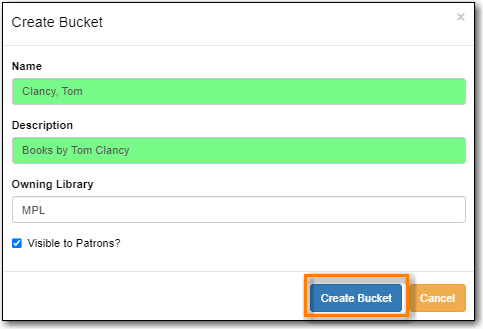
- Enter a name for the hold group.
- Enter a description (optional).
- Choose the owning library from the drop down (defaults to the workstation library).
- If you want the hold group to be visible to the patrons on the list, check the Visible to Patrons? checkbox.
Click Create Bucket.
- Go to Circulation → Hold Groups.
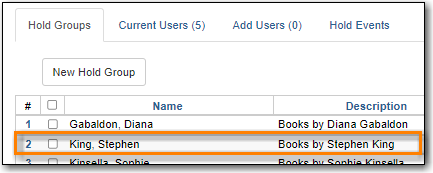
From the Hold Groups tab, double-click the hold group you wish to open.
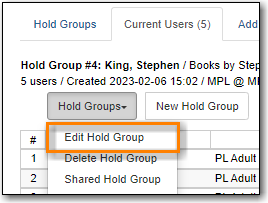
- The group will be opened on the Current Users tab. Click on the Hold Groups button.
From the drop down select Edit Hold Group.
- In the pop-up that appears you can edit the name, description, owning library, or visibility.
- Click Apply Changes.
- The hold group is updated with your changes.
By default, hold groups are only visible to the staff member who created them but they can be shared.
- Go to Circulation → Hold Groups.
- Go to the Current Users tab.
- Click on the Hold Groups button.
From the drop down select Shared Hold Group.

Enter the hold group ID and click Load Bucket.
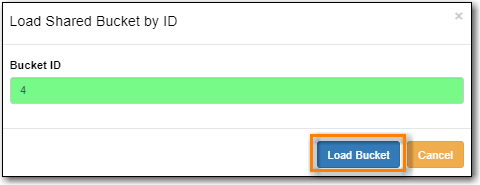
- The shared bucket will display.
Tip
The hold group ID can be found beside the hold group name.

Patrons can be added to a hold group through the Hold Group interface by barcode or search.
- Go to Circulation → Hold Groups.
From the Hold Groups tab, double-click the hold group you wish to open.
- The group will be opened on the Current Users tab. Click on the Add Users tab.
Enter the patron barcode into the Scan Barcode field or click Search for Patron.
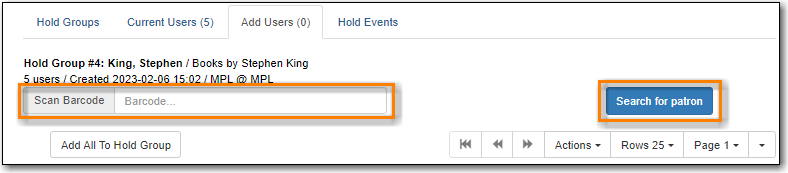
- Added patrons will be listed in the grid. Continue adding patrons as needed.
Select the patrons you would like to add to the group and Click Actions → Add to Hold Group or use the Add All To Hold Group to add all patrons at once.
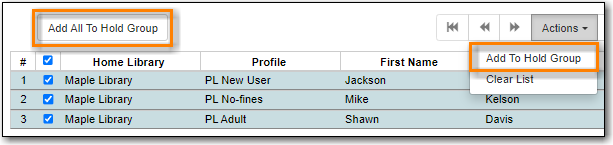
- The patrons will now appear on the Current Users tab as part of the hold group.
Note
You can add some or all of the patrons in the add users list to different hold groups.
- Go to the Hold Groups tab and double-click to select another hold group from the list.
- Return to the Add Users tab and select the patrons you wish to add to the new hold group.
- Use the actions menu to add them to the newly select hold group.
Patrons can also be added to a hold group via the main patron search.
- Go to Search → Search for Patrons.
- Enter your search criteria.
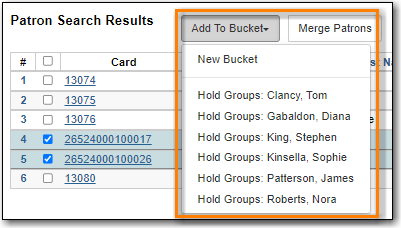
- Use the checkboxes to select one or more patrons.
- Click Add to Bucket.
Choose the hold group to which you want to add the patron(s). Only hold groups created by the logged in staff member display.
- A message displays on the bottom right corner of the screen to confirm whether or not the patrons were added successfully to the hold group.
- Go to Circulation → Hold Groups.
From the Hold Groups tab, double-click the hold group you wish to open.
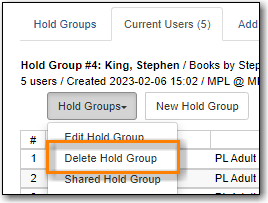
- The group will be opened on the Current Users tab. Click on the Hold Groups button.
From the drop down select Delete Hold Group.
- Click Delete Bucket.
- The hold group is deleted and will no longer show in the list.
Note
Deleting a hold group does not cancel any holds placed through the hold group.
