Hatch is an optional installable program that works with your browser to manage complex printing needs (such as printing to different printers under different circumstances).
Refer to the section called “Downloading and Installing Hatch” for installation instructions.
Hatch will only work with Windows 7, 8, and 10 at this time. If you are going to submit a ticket, include the version in your ticket, as well as whether it is 32 or 64-bit. You can find this by:
- Click on the Windows Start button.
- Right-click on Computer.
- Click on Properties.
Verify that the Java Runtime Environment (JRE) is up to date (version 8 update 161 or higher). If you are unsure which version you have, view your computer’s list of programs or simply download and install the latest version from:
https://www.java.com/en/download/help/windows_manual_download.xml
You can also check to be sure that your operating system is able to find the path to Java:
- Open up a command window (Start Menu, type in cmd).
- Type in: java -version
- You should see the Java version number listed. If there is a problem, you will see an error message.
Verify that you are running the correct version of Hatch (0.3.2). You can see this from your computer’s list of programs Control Panel > Programs and Features.
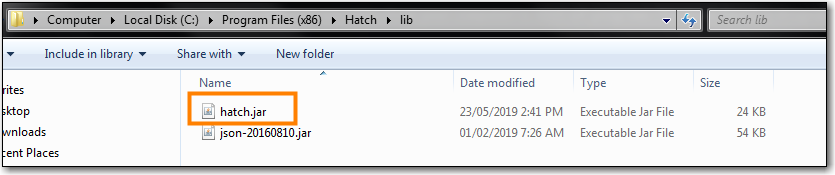
Confirm a "lib" directory exists in the Hatch install directory and that it includes a hatch.jar file
Test Hatch
- Open up a command window (Start Menu, type in cmd).
- Enter command C:\>cd %ProgramFiles(x86)%\
Enter command C:\Program Files (x86)\Hatch>hatch.bat test
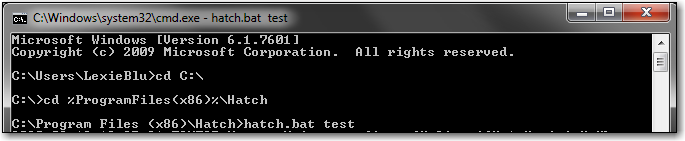
- Either take a screenshot or copy and paste the text that appears in the command window.
Verify that you are running the correct version of the Hatch Chrome Extension (0.2.2).
Click Menu.

- Click More Tools.
- Click Extensions.
- Scroll down to Hatch Native Messenger.
- Verify that it is version 0.2.2 and Enabled.
- When the Hatch Extension is installed and enabled, a small yellow icon should appear in the top-right corner of the browser:
Hatch Extension Console Messages:
- In Chrome, click Menu.
- Select More Tools.
- Select Extensions.
- Enable Developer Mode.
- Choose Hatch Native Messenger.
- Click on the link that says "background" page. (This will open a new window.)
- Select the Console tab.
- Change the "Default" drop down to be sure that Verbose is checked.
- Either take a screen shot or copy and paste the text that appears in the console when you see the errors occurring. Be sure to include any of the errors that display in red.
